V-Cut or Mouse Bite Which PCB Panelization Method Works Best
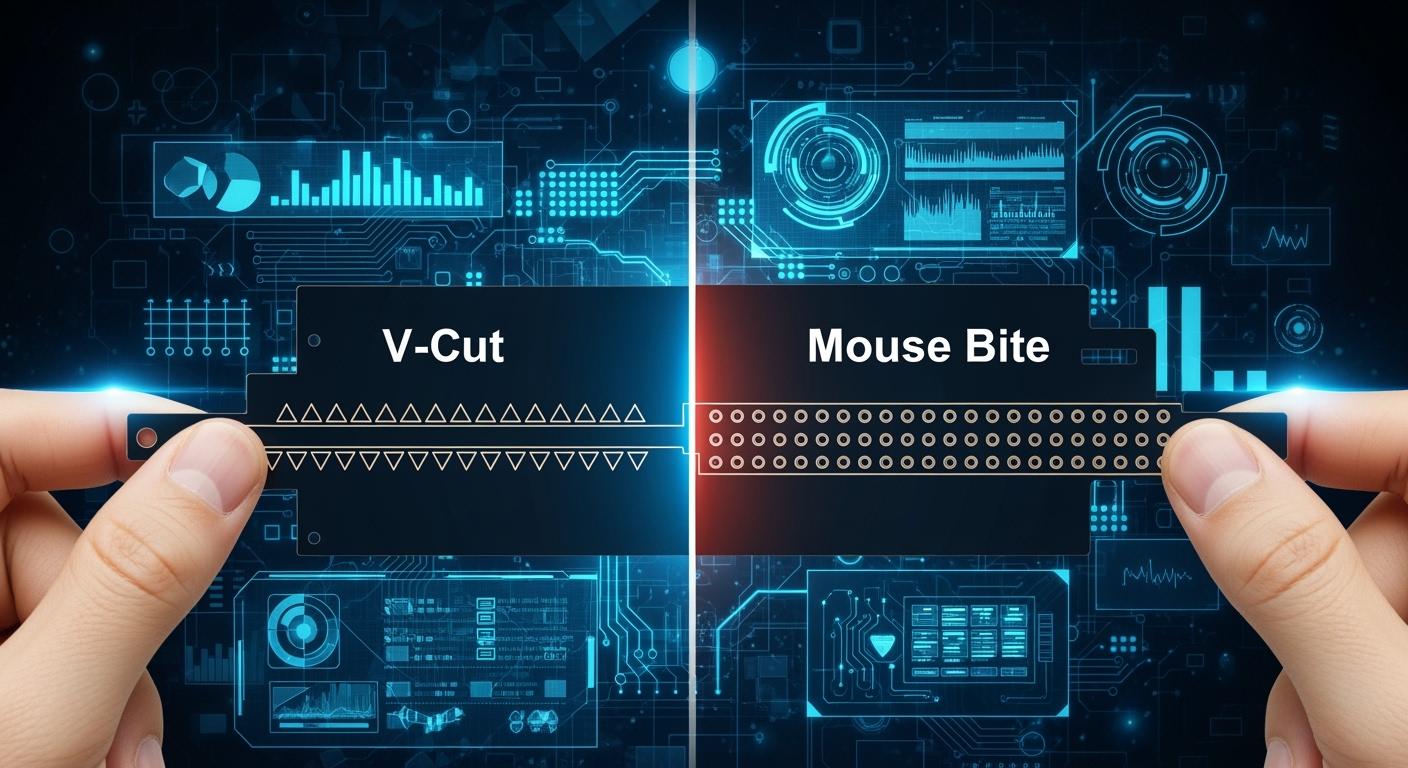
You have to choose when you start your PCB Panelization Design. Should you pick V-Cut or Mouse Bite? The best way depends on your board’s shape, thickness, and what you need for making it. If you want square boards made quickly with less waste, V-scoring is a good choice. If your board has odd shapes or parts close to the edge, tab routing with mouse bites gives better edges. Think about what you need and pick the right way for your pcb project.
V-scoring saves both material and time.
Tab routing is good for odd shapes and keeps edge parts safe.
Key Takeaways
Pick V-Cut for boards that are rectangles and thicker than 0.6 mm. It helps you save time and material.
Use Mouse Bite for boards with strange shapes. It is good when you need to protect parts on the edge.
You can use both V-Cut and Mouse Bite together. This makes your board strong and flexible in hard designs.
Talk to your manufacturer before you decide. They will help you pick the best panelization method for your project.
Think about how many boards you need. V-Cut works well for making lots of boards. Mouse Bite is better for making a few boards.
PCB Panelization Design: V-Cut & Mouse Bite Basics
V-Cut Overview
When you start your pcb panelization design, you often see v-cut as a top choice for making a pcb panel. V-score works by cutting V-shaped grooves into both the top and bottom of the pcb panel. These grooves leave a thin layer of material that holds each pcb together until you break them apart. You use special tools to make these cuts, usually at a 45 or 60-degree angle. This method is called v-scoring. It gives you straight lines and smooth edges after you separate the boards.
Tip: V-scoring works best for rectangular pcb panels. You get the highest material use because there is zero space between each pcb. This means you save money and waste less material.
Here is a quick look at the advantages and limits of v-score in pcb panelization design:
Advantages | Limitations |
|---|---|
Zero spacing between boards for best material use | Only works for straight lines, not curves or odd shapes |
Fast processing and easy to break apart | Needs at least 0.4 mm clearance for parts and traces |
Lowest cost for big batches of rectangular panels | Not for thin boards (less than 0.6 mm) |
Smooth, straight edges after breaking | Panel size must be at least 70×70 mm |
You should use v-cut for pcb panels that are rectangular and have a thickness of 0.6 mm or more. The largest panel size can go up to 475 mm by 475 mm. V-scoring is not good for thin boards or special shapes.
Mouse Bite Overview
Mouse bites give you another way to do pcb panelization design. This method uses small holes or perforations along the edge of each pcb panel. These holes make it easy to snap the boards apart when you finish assembly. Mouse bites work well for odd-shaped pcb panels or when you need to protect parts near the edge.
You place mouse bites along the centerline of the panel or in blank areas. You should avoid putting them near vias, traces, or mounting holes. For best results, use a hole size of 0.5 to 0.8 mm and space them 0.25 to 0.5 mm apart. Tabs should be 2 to 5 mm wide. For thicker pcb panels, you may need bigger holes or wider tabs.
Note: Mouse bites work well for standard FR-4 boards with a thickness of 1.6 mm. If your pcb is thinner, use fewer mouse bites or make the holes smaller to avoid cracks.
Mouse bites let you create pcb panels with curves, arcs, or special shapes. You can use this method for both single and double-sided pcb designs. Mouse bites give you more freedom in your pcb panelization design, especially when v-score will not work.
Panelization Pros & Cons for PCB Projects
V-Cut Advantages
You can get many benefits when you use v-cut for your pcb panelization. This method helps you make more boards in less time. You save money because you use less material and need less labor. You also get better use of your panel space. Here is a table that shows the main advantages of v-cut for pcb projects:
Advantage | Description |
|---|---|
Efficiency | You can produce many boards quickly. |
You lower your total pcb manufacturing costs. | |
You use almost all the space on your panel. | |
Labor Cost Reduction | You need less work to assemble and separate boards. |
Equipment Utilization Improvement | Your machines work better and faster. |
Quality Improvement | You get better finished pcb boards. |
You also get faster assembly speed. V-cut lets you place boards close together, so you fit more on each panel. You can break the boards apart quickly after assembly. This makes your whole process faster and cheaper.
V-Cut Limitations
V-cut panelization does not work for every pcb design. You need to know the limits before you choose this method. Here are some common drawbacks:
You can only use v-cut for straight lines. It does not work for curves or odd shapes.
If you need space between v-cut areas, you must break the boards by hand.
V-cut can cause parts of the pcb to fall off during breaking. This can damage fragile parts like sensors.
The v-cut machine may need changes for some products. If the v-shape is not perfect, you can get bad boards.
V-cut does not work well for irregular board shapes.
You may also see defects like rough edges or broken copper if the tools are dull or the settings are wrong. Stress from breaking the panel can damage parts near the edge. Here is a table of common defects:
Defect Type | Symptom | Root Cause |
|---|---|---|
Poor Depaneled Edge Quality | Glass fiber layer delamination or copper foil tearing | Dull tools or wrong cutting settings |
Component Failure Due to Depaneling Stress | Parts fail during or after breaking the panel | Too much stress during separation |
Mouse Bite Advantages
Mouse bites give you more freedom in your pcb panelization. You can use this method for boards with curves or special shapes. You do not need expensive tools to break the boards apart. Here is a table of the main advantages of mouse bites:
Advantage | Description |
|---|---|
Cost-Effectiveness | You do not need special tools, so you save money. |
Design Flexibility | You can use mouse bites for any shape, not just rectangles. |
Reduced Mechanical Stress | You lower the risk of breaking parts when you snap the boards apart. |
Simplified Depaneling | You can break the boards by hand, which is good for small batches or prototypes. |
Reduced Board Flexing | The panel stays strong during assembly, so your boards do not bend. |
Consistent Alignment | Your boards stay in the right place during assembly. |
Minimized Vibration Impact | The panel does not shake as much, so your parts stay safe. |
Mouse bites make it easy to separate boards after assembly. The small holes weaken the connection, so you can snap the boards apart with little force. This helps you avoid cracks and keeps your pcb safe. Mouse bites work well for odd shapes and for pcb mouse bites designs.
Mouse Bite Limitations
Mouse bites also have some drawbacks. You need to know these before you choose this method for your panel. Here is a table of the main limits:
Limitation | Description |
|---|---|
Structural Strength | The board may be weaker after you break it apart. |
Rough Edges | Snapping the board can leave rough edges that need sanding. |
Potential Microcracks | If you are not careful, you can get small cracks in the board. |
Weak Corner Strength | The corners may be weaker than with v-cut or routing. |
You may also see problems like rough edges, board cracking, or weak panels. If you do not place the tabs or holes right, you can damage parts or make the panel hard to break. Sometimes, the rough edges can cause problems when you put the board in a case.
Tip: Always check your panel and pcb design before you choose mouse bites vs. v-cut. Make sure you talk with your manufacturer to avoid mistakes.
Combining Both Methods
You can use both v-cut and mouse bites on the same panel. This works well for complex pcb projects. For example, you can use v-cut on the straight sides of your panel and mouse bites on the curved or special parts. This keeps your panel strong during assembly and lets you use more shapes.
Combining both methods helps you keep the panel rigid during the SMT process. You also get the freedom to use complex shapes and protect parts that stick out. Many modern pcb projects use this hybrid approach for the best results.
Note: When you combine v-cut and mouse bites, you get the benefits of both. You keep your panel strong and easy to handle, and you can use any shape you need.
Choosing Panelization for Your PCB
Picking the right panelization method helps your pcb project succeed. You need to check your board’s shape and thickness. Also, think about how many panels you want to make. Each method—v-cut or mouse bites—has its own strengths. Sometimes, you can use both methods together for better results. Let’s see when to use each method and how to avoid mistakes.
When to Use V-Cut
Choose v-cut if your pcb panels are rectangular. This method works best for boards that are at least 0.6 mm thick. V-cut gives you straight lines and lets you fit more boards on a panel. You save material and spend less money. If you need many panels, v-cut makes the process faster and cheaper.
Here are the best times to use v-cut:
Rectangular boards
Thickness of 0.6 mm or more (not for 0.4 mm boards)
Panel size at least 70 mm × 70 mm
Panel size up to 475 mm × 475 mm (with both horizontal and vertical v-cuts)
High-volume production where saving material matters
Tip: Use v-cut for big batches of rectangular pcb panels. This method helps you use all your panel space and keeps your process quick.
When to Use Mouse Bite
Mouse bites are good for pcb panels with odd or curved shapes. You get more design choices with this method. Mouse bites work well for panels with special shapes or parts near the edge. If you use SMT assembly, mouse bites make it easy to break boards apart after making them. You can also use mouse bites with fiducials for better alignment in early pcb design.
Pick mouse bites panelization when:
Boards have odd or non-rectangular shapes
Projects need more design freedom than v-cut
SMT assembly needs easy board separation
Early product development needs speed and lower costs
Note: Mouse bites let you make panels with curves and special features. You can break boards apart by hand, which is good for prototypes or small runs.
Combining Methods
Sometimes, your pcb project needs both v-cut and mouse bites. You can use v-cut on straight sides and mouse bites on curved or tricky edges. This mix keeps your panel strong during assembly and lets you use any shape you want. Many modern pcb designs use both methods to balance strength, flexibility, and speed.
When you combine methods, you get:
Strong panels for assembly and handling
Flexibility for tricky shapes and edge parts
Better results for both big and small production runs
Alert: Avoid mistakes in panelization. Bad scoring or routing can make boards hard to separate. Using the wrong tools can hurt your pcb. Putting parts too close to the edge can cause damage when breaking boards apart. Always check your panel layout and talk to your manufacturer before you start.
Here is a table to help you pick the best panelization method for your production volume:
Production Volume | Preferred Method | Focus Area |
|---|---|---|
Low-Volume | Tab-Routing | Flexibility and simplicity |
High-Volume | V-Cut | Speed and cost-efficiency |
You can avoid mistakes by following these tips:
Mistake Type | Description |
|---|---|
Poor Scoring or Routing Design | Wrong depth or spacing of v-grooves or mouse bites can make boards hard to separate. |
Inadequate Tooling | Using bad tools can damage the boards. |
Component Proximity | Parts too close to edges can get damaged when breaking boards apart. |
PCB Panel Component Misalignment | Misalignment during assembly can cause soldering problems. |
Manufacturing Defects | Problems like delamination or broken traces can happen from bad materials or handling. |
When you plan your pcb panelization, always think about making it easy to manufacture. This helps you avoid problems and get the best results for your project.
Cost & Manufacturing Impact
Production Cost Factors
You need to look at several factors when you compare the cost of V-Cut and Mouse Bite panelization for your pcb project. The way you choose to separate your boards changes how much material you use, how fast you finish, and how much you spend on tools. V-Cut uses straight grooves, so you waste less material and finish faster. Mouse bites need more routing, which means you use more material and spend more time on fabrication.
Here is a table to help you see the main cost drivers:
Criteria | V-Cut (V-Scoring) | Tab Routing (Mouse Bites) |
|---|---|---|
Panel Utilization | Excellent (minimal waste) | Good (10–20% more waste) |
Manufacturing Cost | Lower | Higher (longer routing time) |
Depanelization Speed | Very fast (manual snap or fixture) | Slower (router or punch needed) |
You save money with V-Cut if you have many rectangular boards. Mouse bites cost more because you need extra fabrication steps and lose more panel space. For small or odd-shaped boards, mouse bites can still be the best choice, especially if you want to protect edge components.
Tip: Always match your pcb design to the right panelization method. This helps you control fabrication costs and avoid waste.
Throughput & Quality
You can boost throughput in pcb manufacturing by putting many boards on one panel. This lets you do drilling, etching, and other fabrication steps all at once. You finish more boards in less time, which raises your production throughput and lowers your setup time.
V-Cut works best for high-volume runs. You get quick, clean separation and high throughput. Mouse bites work well for special shapes or thick boards. They help you avoid damage to sensitive parts during fabrication. Mouse bites also spread out stress when you break the boards apart, so you lower the risk of cracks.
V-grooves are the traditional way to panelize straight-edge boards.
Mouse bites are better for odd shapes or when you need to protect edge parts.
Mouse bites use standard drilling tools, which keeps fabrication simple for small batches.
V-scoring needs special equipment, but it works fast for large panels.
V-Cut gives you smooth edges and fast separation.
Mouse bites help you avoid stress on parts near the edge.
Note: Choose the method that fits your pcb design and production needs. This will help you get strong, reliable boards and keep your fabrication line running smoothly.
You have to pick the best way to panelize your pcb. V-Cut is good for making lots of boards fast. It also gives you smooth, clean edges. Mouse bites are better for small groups or test boards. They also work well for boards with tricky shapes. Think about your board’s shape and how many you need before you choose.
Mouse bites are great for test boards and small batches. You can break the boards apart by hand.
V-Cut works well for big jobs and machines that build lots of boards.
Mouse bites let you use odd shapes.
V-Cut is best if you want neat edges for looks or fitting.
You should talk to your manufacturer early. Use design tools and follow DFM rules for hard projects.
FAQ
What is the main difference between V-Cut and Mouse Bite panelization?
You use V-Cut for straight lines and rectangular boards. Mouse Bite works for odd shapes and curves. Each method helps you separate your pcb panels in a different way.
Can I combine V-Cut and Mouse Bite in one pcb panel?
You can mix both methods in your design. Use V-Cut for straight edges and Mouse Bite for curves. This gives you strong panels and flexible shapes.
Which panelization method gives smoother edges after separation?
V-Cut usually gives you smoother edges. Mouse Bite can leave rough spots that need sanding. Choose V-Cut if you want neat edges for your pcb.
Is Mouse Bite panelization safe for fragile components near the edge?
Mouse Bite helps protect fragile parts near the edge. You place tabs away from sensitive areas. This lowers the risk of damage during separation.
How do I decide which panelization method fits my project?
You check your pcb shape, thickness, and production needs. Use V-Cut for rectangles and high volume. Choose Mouse Bite for special shapes or prototypes. Always review your design before you start.
See Also
Effective Strategies for Reducing Expenses in PCB Manufacturing
Utilizing Horizontal Copper Sinking Technology for PCB Fabrication
Essential Techniques for Achieving Quality Control in PCB Production
Reasons Engineers Prefer VIPPO for Advanced PCB Designs
Importance of Vacuum Two-Fluid Etching in Precision PCB Manufacturing